Lab 005 Configure and Verify IPv6 Autoconfiguration SLAAC
Watch Full Demo on YouTube:
Lab Objective:
The objective of this lab is to configure and verify IPv6 addressing using SLAAC on routers, and PCs. We will ensure that devices can communicate with each other using their autoconfigured IPv6 addresses.
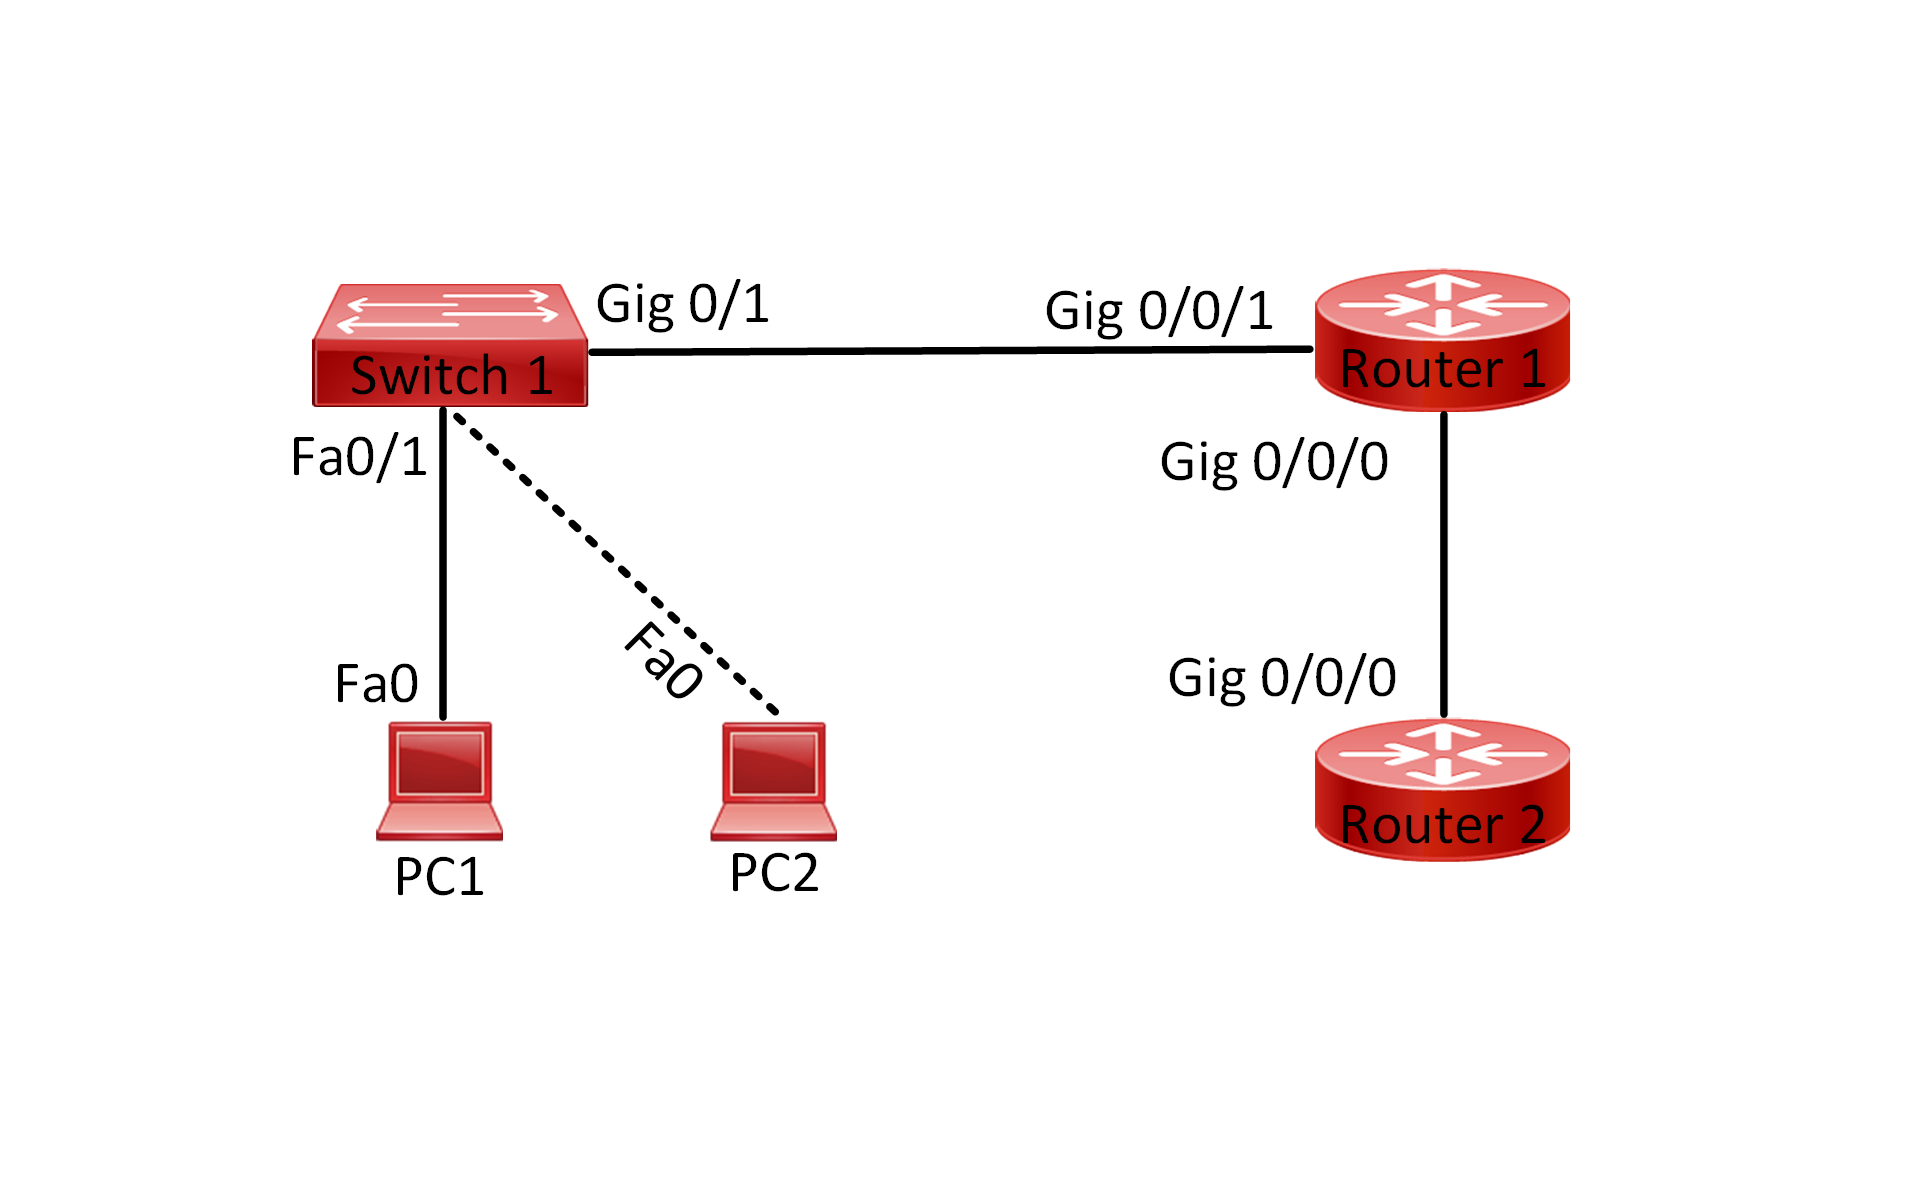
Lab Topology:

Equipment Required:
- 2x Cisco Router
- 2x Cisco Switches (2960)
- 4x PCs with ethernet interface
- Console Cable
- Ethernet Cable
- Computer with Terminal emulation software e.g. PuTTY
IPv6 Address Table:
| Device Name | Interface ID | IPv6 Address |
| Router 1 | GigabitEthernet0/0/0 | 2024:db8:2001:1::1/64 |
| Router 1 | GigabitEthernet0/0/1 | 2024:db8:2001:2::1/64 |
| Router 1 | GigabitEthernet0/0/2 | 2024:db8:2001:3::1/64 |
| Router 2 | GigabitEthernet0/0/2 | Autoconfigured address |
| PC 1 | Fa0 | Autoconfigured address |
| PC 2 | Fa0 | Autoconfigured address |
| PC 3 | Fa0 | Autoconfigured address |
| PC 4 | Fa0 | Autoconfigured address |
List of Command Summary:
| Command | Command Description |
| enable | enters privileged EXEC mode. |
| configure terminal | enters global configuration mode from privileged EXEC mode. |
| hostname [hostname] | Assign a device name to router. |
| interface [type number] | Change from global configuration mode to interface configuration mode. |
| ipv6 unicast-routing | used to enable IPv6 unicast routing on a Cisco router or switch. When enabled, the device will forward IPv6 packets between different networks or subnets, allowing for communication between devices on different IPv6 subnets. This command essentially enables the router or switch to act as an IPv6 router, facilitating the routing of IPv6 packets across the network. |
| ipv6 enable | used to enable IPv6 processing on an interface in Cisco IOS. When this command is applied to an interface, it enables IPv6 functionality on that interface, allowing the interface to send and receive IPv6 packets. |
| ipv6 address [ipv6 address] | Configure a static IPv6 address on an interface |
| ipv6 address autoconfig | enables IPv6 Stateless Address Autoconfiguration (SLAAC) on an interface. When this command is configured on an interface, the interface will automatically generate its IPv6 address based on the prefix received in Router Advertisement (RA) messages from neighboring routers. This allows devices to configure their IPv6 addresses dynamically without the need for a DHCPv6 server |
| description [interface description] | command is used in Cisco IOS to add a description to a specific interface. This description is a text string that can help network administrators identify and understand the purpose or function of the interface. It does not affect the operation of the interface itself but can be useful for documentation and troubleshooting purposes |
| show ipv6 interface [interface-id] | Display IPv6 configuration details for an interface. |
| no shutdown | enables an interface. |
| ping ipv6 [ipv6 address] | used to send an IPv6 ping message to a specific IPv6 address. This command is similar to the IPv4 ping command but is used for IPv6 addresses. By specifying the IPv6 address, the device attempts to ping another device with that specific IPv6 address to check for connectivity. |
| show running-config | save the running configuration to the startup-configuration file. |
| show running-config interface [interface-id] | display the current running configuration of a specific interface on a Cisco device. This command provides detailed information about the configuration settings applied to the specified interface, including IP addresses, VLAN assignments, interface status, and any configured parameters such as speed, duplex mode, or access control lists (ACLs) |
| show ipv6 interface brief | used to display a brief summary of IPv6 information for all interfaces on a device. This command provides a concise overview of each interface’s IPv6 configuration, including the interface name, IPv6 address, status, and protocol status. It is helpful for quickly assessing the IPv6 configuration of a device’s interfaces. |
| end | exit configuration mode |
| exit | exits one level in the menu structure command |
Lab Task:
- Connect the devices according to the provided topology.
- Connect to the CLI of the routers, switches and enable privileged EXEC mode and go to configuration mode. Configure the appropriate hostname on each device as per topology shown above.
- Enable IPv6 routing on both routers.
- Enable and configure IPv6 on each interface on Router1 that is connected to a network device, refer to the IPv6 Address table.
- Verify that each interface is in the up/up state and check IPv6 configuration.
- Enable and configure SLAAC with IPv6 Autoconfig on Router2.
- Verify that interface GigabitEthernet0/0/2 is enabled and configured automatically with IPv6 address.
- Set IPv6 Configuration on PC1, PC2, PC3 and PC4 to automatic.
- Verify that each PC has IPv6 address auto configured.
- Check connectivity between every PC and the Router1 interfaces.
- Verify that each PC is able to ping the other PCs.
- Save the configuration across all network devices once everything is working.
Configuration Steps:
1. Connect Lab Devices: Connect the devices according to the provided topology.
2. Change the name of both routers switches according to the topology:
On Switch 1:
switch> enable
switch# configure terminal
switch(config)# hostname Switch1
On Switch2:
switch> enable
switch# configure terminal
switch(config)# hostname Switch2
On Router 1:
Router> enable
Router# configure terminal
Router(config)# hostname Router1
On Router 2:
Router> enable
Router# configure terminal
Router(config)# hostname Router2
3. Configure ipv6 unicast routing on both routers:
Router1:
Router1(config)#ipv6 unicast-routing
Router2:
Router2(config)#ipv6 unicast-routing
4. Enable and configure IPv6 on each interface on Router1:
Interface GigabitEthernet0/0/0:
Router1(config-if)#interface description “Link to Switch1”
Router1(config-if)#ipv6 enable
Router1(config-if)#ipv6 address 2024:db8:2001:1::1/64
Router1(config-if)#no shutdown
Router1(config-if)#exit
Interface GigabitEthernet0/0/1
Router1(config-if)#interface description “Link to Switch2”
Router1(config-if)#ipv6 enable
Router1(config-if)#ipv6 address 2024:db8:2001:2::1/64
Router1(config-if)#no shutdown
Router1(config-if)#exit
Interface GigabitEthernet0/0/2
Router1(config-if)#interface description “Link to Router2”
Router1(config-if)#ipv6 enable
Router1(config-if)#ipv6 address 2024:db8:2001:3::1/64
Router1(config-if)#no shutdown
Router1(config-if)#exit
5. Verify that each interface is in the up/up state and check IPv6 configuration, we will do this by issuing the following commands:
show ipv6 interface brief
You can issue the following command, but they are not compatible with Packet Tracer:
show running-config interface GigabitEthernet0/0/0
show running-config interface GigabitEthernet0/0/1
show running-config interface GigabitEthernet0/0/2
Note that interface GigabitEthernet0/0/2 is up/down. This is because the interface is not enabled from Router2
6. Enable and configure SLAAC with IPv6 Autoconfig on Router2:
Interface GigabitEthernet0/0/2
Router2(config-if)#interface description “Link to Router1”
Router2(config-if)#ipv6 enable
Router2(config-if)#ipv6 address autoconfig
Router2(config-if)#no shutdown
Router2(config-if)#exit
7. Verify that interface GigabitEthernet0/0/2 is enabled and configured automatically with IPv6 address:
Router2#show ipv6 interface brief:

8. Set IPv6 Configuration on PC1, PC2, PC3 and PC4 to automatic:
On PC1:

On PC2:

On PC3:

On PC4:

9. Verify that each PC has IPv6 address auto configured:
On PC1:

On PC2:

On PC3:

On PC4:

10. Check connectivity between every PC and the Router1 interfaces:
Test Connectivity between PC1 and Router1

Test Connectivity between PC2 and Router1

Test Connectivity between PC3 and Router2

Test Connectivity between PC4 and Router2

11. Verify that each PC is able to ping the other PCs:

Don’t forget to save the running configuration on the device.
Important Note:
Stateless Address Autoconfiguration (SLAAC) is a mechanism used in IPv6 networks to automatically assign IPv6 addresses to network interfaces without the need for manual configuration or a DHCPv6 server. It relies on the use of router advertisements (RAs) sent periodically by routers on the network.
Here’s how SLAAC works:
- Router Advertisements (RAs): Routers on the network periodically send out router advertisement messages. These messages contain information about the network prefix, which is a portion of the IPv6 address that is common to all devices on the same network segment.
- Network Prefix: The network prefix is included in the router advertisement messages and is used by devices to generate their IPv6 addresses. It identifies the network segment to which the device belongs.
- Interface Identifier: Each network interface has a unique interface identifier. In SLAAC, the interface identifier is typically derived from the hardware MAC address of the network interface.
- Address Configuration: When a device receives a router advertisement containing the network prefix, it combines the network prefix with its interface identifier to generate its IPv6 address. This process ensures that each device on the network has a unique IPv6 address.
- Duplicate Address Detection (DAD): Before assigning the generated IPv6 address to its interface, the device performs a Duplicate Address Detection (DAD) process to ensure that the address is not already in use on the network.
- Address Validity: The generated IPv6 address is considered valid for communication on the network. The device can now use this address to send and receive IPv6 traffic.
SLAAC offers several advantages, including simplicity, scalability, and reduced dependency on DHCP servers. However, it does not provide the ability to assign additional configuration parameters such as DNS server addresses, which may be necessary for some network setups. In such cases, a combination of SLAAC and DHCPv6 may be used.
Conclusion:
In this lab, we successfully configured and verified IPv6 addressing using Stateless Address Autoconfiguration (SLAAC). We demonstrated how routers and PCs can automatically generate their IPv6 addresses without manual configuration, simplifying the network setup process and ensuring seamless communication between devices in an IPv6-enabled network.
Packet Tracer Lab (Pre/Post configuration):
Download the file below and open the word document to access the Packet Tracer labs.


